
1.0 Red Hat Openshift Local (CodeReady for containers)
Red Hat OpenShift Local brings a minimal OpenShift Container Platform 4 cluster and Podman container runtime. These runtimes provide minimal environments for development and testing purposes. This in fact is the quickest way to get started building Openshift cluster. It's designed to run in a single node or desktop running Linux, macOS or Windows 10.
Red Hat OpenShift Local includes the crc command-line interface (CLI) to interact with the Red Hat OpenShift Local instance using the desired container runtime and we'll be using this command to setup and start the cluster in the Azure Soltuion.
1.1 Differences from a production OpenShift Container Platform installation.
The OpenShift preset for Red Hat OpenShift Local provides a regular OpenShift Container Platform installation with the following notable differences:
- The OpenShift Container Platform cluster is ephemeral and is not intended for production use.
- Red Hat OpenShift Local does not have a supported upgrade path to newer OpenShift Container Platform versions. Upgrading the OpenShift Container Platform version may cause issues that are difficult to reproduce.
- It uses a single node which behaves as both a control plane and worker node.
- It disables the Cluster Monitoring Operator by default. This disabled Operator causes the corresponding part of the web console to be non-functional.
- The OpenShift Container Platform cluster runs in a virtual machine known as an instance. This may cause other differences, particularly with external networking.
1.2 Prerequisites
Right now we have avalible the Openshift local base on Centos Server 7. The minimun required to run Openshift local (CRC) is 4 physiscal CPU cores and 9 GB of free memory. To be able run our solution without any errors, we recommend use the below version of in Azure Virtual Machines:
- (Recommended) D-Series v4 or v5: D4ds_v4 & D4s_v4
- E-Series v4 or v5: E4ds_v5 & E4s_v5
The Openshift Local solution in the Marketplace have an additional disk of 35GB to store the Openshift cluster information.
2.0 Installation
Now let's begin with the fun part!
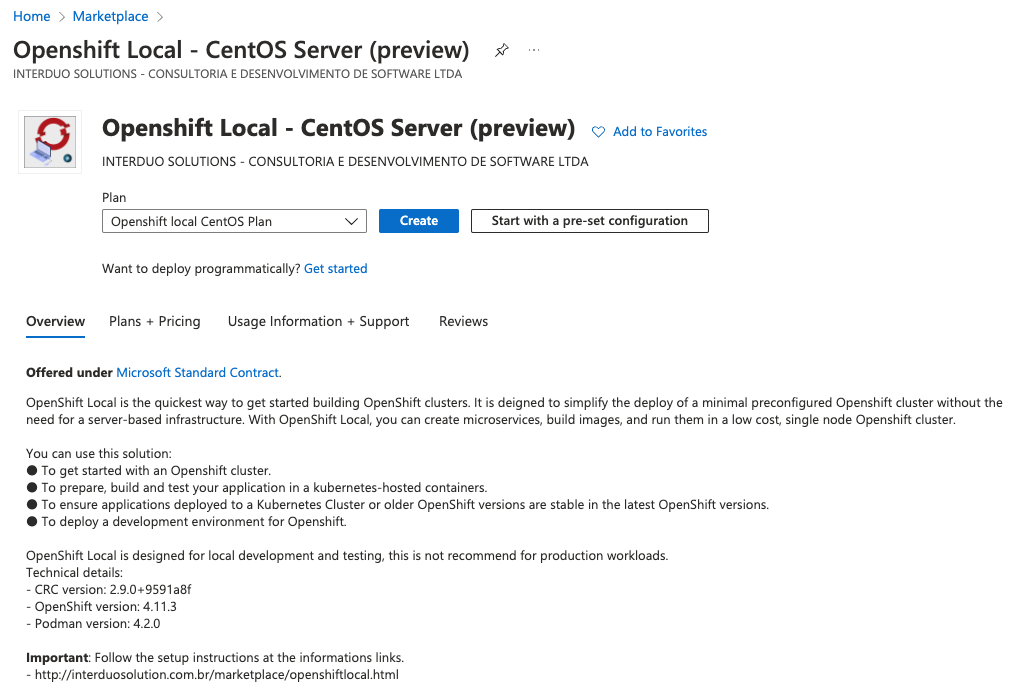
The first step is create the new Virtual Machine using our Marketplace solution, for that just login in the Azure portal and search for "Openshift Local CentOS"
Check the plan and click in "CREATE"
Select the name of you Virtual Machine, size (Recommended) D-Series v5: D4as_v5 or D4as_v5, networking, disk, etc.
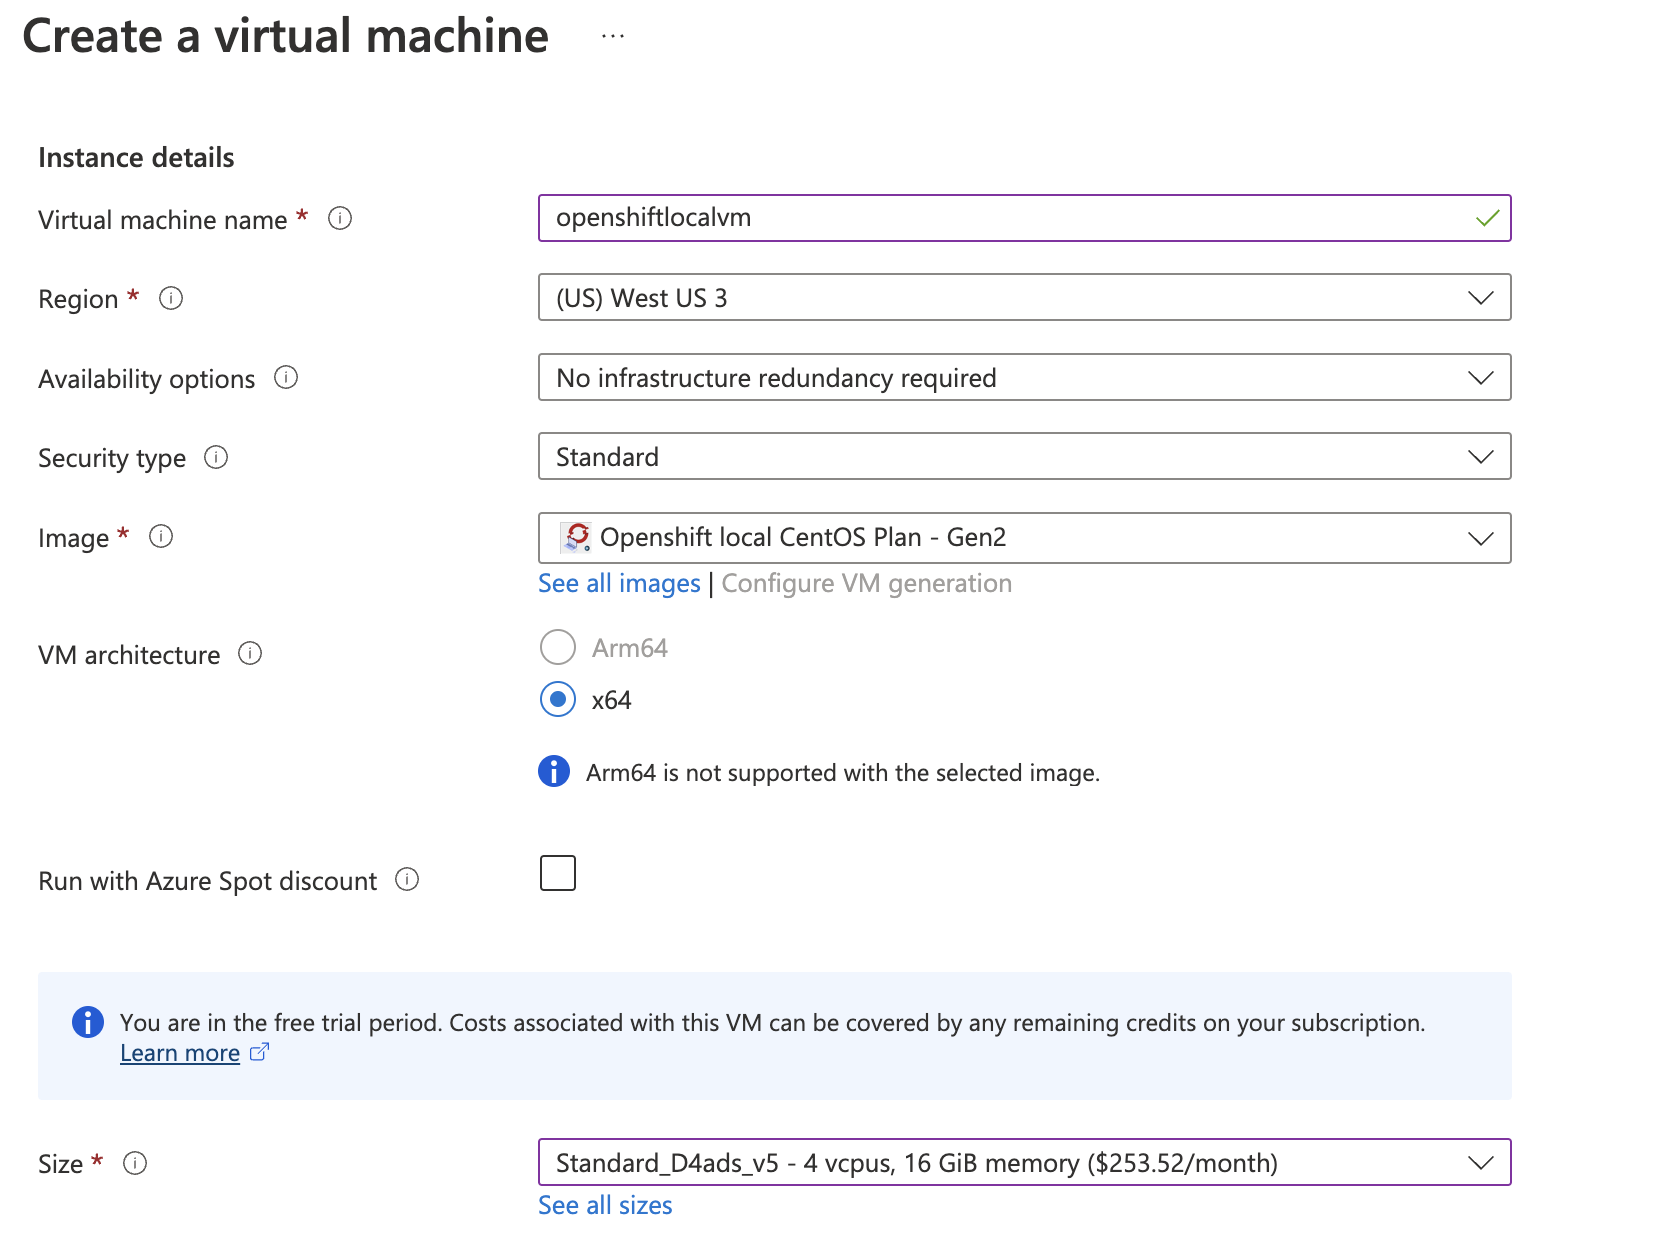
Check if everthing is fine, review and create the Virtual machine, the creation will take a couple minutes.
Now that you have your Virutal Machine up and running, you just need to setup your cluster and start. For this we'll be using the CRC command line interface.
Connect in you Virtual machine using ssh:$ssh username@yourvmIP
Check the crc version:
$ crc version
CRC version: 2.9.0+9591a8f
OpenShift version: 4.11.3
Podman version: 4.2.0
2.1 Setup your cluster
To setup your environment, you need to run the command crc setup
CRC prompts you before use for optional, anonymous usage data collection to assist with development. No personally identifiable information is collected. Consent for usage data collection can be granted or revoked by you at any time.
- For more information about collected data, see the Red Hat Telemetry data collection notice.
- To grant or revoke consent for usage data collection, see Configuring usage data collection.
Before run the setup, we recommend configure and set the memory.
$ crc config set memory 10240 <-- Sets 10GB, you can set more if needed.
Bellow an example of the command crc setup
$ crc setup
CRC is constantly improving and we would like to know more about usage (more details at https://developers.redhat.com/article/tool-data-collection)
Your preference can be changed manually if desired using 'crc config set consent-telemetry <yes/no>'
Would you like to contribute anonymous usage statistics? [y/N]: y
Thanks for helping us! You can disable telemetry with the command 'crc config set consent-telemetry no'.
INFO Using bundle path /home/user/.crc/cache/crc_libvirt_4.11.3_amd64.crcbundle
INFO Checking if running as non-root
INFO Checking if running inside WSL2
INFO Checking if crc-admin-helper executable is cached
INFO Caching crc-admin-helper executable
INFO Using root access: Changing ownership of /home/user/.crc/bin/crc-admin-helper-linux
INFO Using root access: Setting suid for /home/user/.crc/bin/crc-admin-helper-linux
INFO Checking for obsolete admin-helper executable
INFO Checking if running on a supported CPU architecture
INFO Checking minimum RAM requirements
INFO Checking if crc executable symlink exists
INFO Creating symlink for crc executable
INFO Checking if Virtualization is enabled
INFO Checking if KVM is enabled
INFO Checking if libvirt is installed
INFO Installing libvirt service and dependencies
INFO Using root access: Installing virtualization packages
INFO Checking if user is part of libvirt group
INFO Adding user to libvirt group
INFO Using root access: Adding user to the libvirt group
INFO Checking if active user/process is currently part of the libvirt group
INFO Checking if libvirt daemon is running
WARN No active (running) libvirtd systemd unit could be found - make sure one of libvirt systemd units is enabled so that it's autostarted at boot time.
INFO Starting libvirt service
INFO Using root access: Executing systemctl daemon-reload command
INFO Using root access: Executing systemctl start libvirtd
INFO Checking if a supported libvirt version is installed
INFO Checking if crc-driver-libvirt is installed
INFO Installing crc-driver-libvirt
INFO Checking if systemd-networkd is running
INFO Checking if NetworkManager is installed
INFO Checking if NetworkManager service is running
INFO Checking if /etc/NetworkManager/conf.d/crc-nm-dnsmasq.conf exists
INFO Writing Network Manager config for crc
INFO Using root access: Writing NetworkManager configuration to /etc/NetworkManager/conf.d/crc-nm-dnsmasq.conf
INFO Using root access: Changing permissions for /etc/NetworkManager/conf.d/crc-nm-dnsmasq.conf to 644
INFO Using root access: Executing systemctl daemon-reload command
INFO Using root access: Executing systemctl reload NetworkManager
INFO Checking if /etc/NetworkManager/dnsmasq.d/crc.conf exists
INFO Writing dnsmasq config for crc
INFO Using root access: Writing NetworkManager configuration to /etc/NetworkManager/dnsmasq.d/crc.conf
INFO Using root access: Changing permissions for /etc/NetworkManager/dnsmasq.d/crc.conf to 644
INFO Using root access: Executing systemctl daemon-reload command
INFO Using root access: Executing systemctl reload NetworkManager
INFO Checking if libvirt 'crc' network is available
INFO Setting up libvirt 'crc' network
INFO Checking if libvirt 'crc' network is active
INFO Starting libvirt 'crc' network
INFO Checking if CRC bundle is extracted in '$HOME/.crc'
INFO Checking if /home/user/.crc/cache/crc_libvirt_4.11.3_amd64.crcbundle exists
INFO Getting bundle for the CRC executable
3.16 GiB / 3.16 GiB [---------------------------------------------------------------------------------------------------------------------------------------] 100.00% 108.07 MiB p/s
INFO Uncompressing /home/user/.crc/cache/crc_libvirt_4.11.3_amd64.crcbundle
crc.qcow2: 12.12 GiB / 12.12 GiB [-----------------------------------------------------------------------------------------------------------------------------------------] 100.00%
oc: 118.14 MiB / 118.14 MiB [----------------------------------------------------------------------------------------------------------------------------------------------] 100.00%
Your system is correctly setup for using CRC. Use 'crc start' to start the instance
Check if your setup finished with success.
Important: In some cases you can get a the message: "You need to enable virtualization in BIOS" as you can see below:
$ crc setup
CRC is constantly improving and we would like to know more about usage (more details at https://developers.redhat.com/article/tool-data-collection)
Your preference can be changed manually if desired using 'crc config set consent-telemetry'
Would you like to contribute anonymous usage statistics? [y/N]: y
Thanks for helping us! You can disable telemetry with the command 'crc config set consent-telemetry no'.
INFO Using bundle path /home/fzerati/.crc/cache/crc_libvirt_4.11.3_amd64.crcbundle
INFO Checking if running as non-root
INFO Checking if running inside WSL2
[...]
INFO Checking if crc executable symlink exists
INFO Creating symlink for crc executable
INFO Checking if Virtualization is enabled
INFO Setting up virtualization
You need to enable virtualization in BIOS
This happen because in some Virtual Machines family is not enabled the virtualization in BIOS.
This option is enabled in the latest version of the Virtual Machines, if this error happens, please try to delete and recreate in a D-Serires v4 or v5 version as recommended in the prerequisites.
2.2 Start your cluster
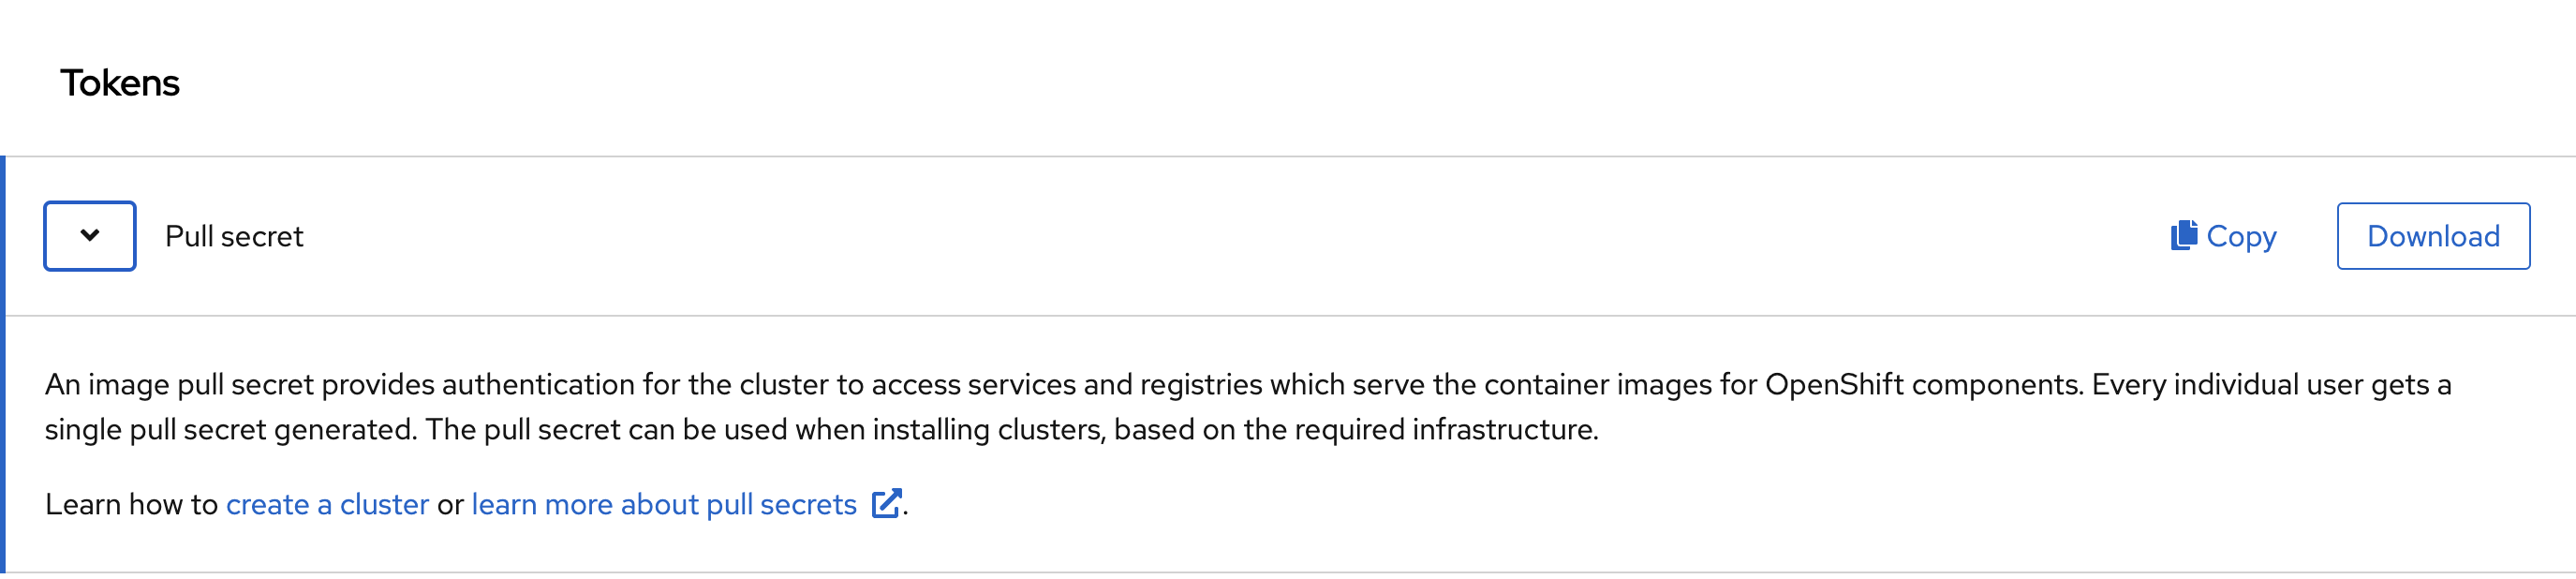
To start your cluster, CRC requires a pull secret to download content from Red Hat.
You can copy it from the Pull Secret section of https://console.redhat.com/openshift/downloads#tool-pull-secret.
Now that your host environment has been set up with the crc setup command and you have your user pull secret, you can start the Openshift cluster with the crc start or crc start -p pull-secret.txt commands.
When promped, supply your user pull secret for the cluster.
$ crc start
WARN A new version (2.10.1) has been published on https://developers.redhat.com/content-gateway/file/pub/openshift-v4/clients/crc/2.10.1/crc-linux-amd64.tar.xz
INFO Checking if running as non-root
INFO Checking if running inside WSL2
INFO Checking if crc-admin-helper executable is cached
INFO Checking for obsolete admin-helper executable
INFO Checking if running on a supported CPU architecture
INFO Checking minimum RAM requirements
INFO Checking if crc executable symlink exists
INFO Checking if Virtualization is enabled
INFO Checking if KVM is enabled
INFO Checking if libvirt is installed
INFO Checking if user is part of libvirt group
INFO Checking if active user/process is currently part of the libvirt group
INFO Checking if libvirt daemon is running
INFO Checking if a supported libvirt version is installed
INFO Checking if crc-driver-libvirt is installed
INFO Checking if systemd-networkd is running
INFO Checking if NetworkManager is installed
INFO Checking if NetworkManager service is running
INFO Checking if /etc/NetworkManager/conf.d/crc-nm-dnsmasq.conf exists
INFO Checking if /etc/NetworkManager/dnsmasq.d/crc.conf exists
INFO Checking if libvirt 'crc' network is available
INFO Checking if libvirt 'crc' network is active
INFO Loading bundle: crc_libvirt_4.11.3_amd64...
CRC requires a pull secret to download content from Red Hat.
You can copy it from the Pull Secret section of https://console.redhat.com/openshift/create/local.
? Please enter the pull secret *****************************************************************************************************************************************************
WARN Cannot add pull secret to keyring: exec: "dbus-launch": executable file not found in $PATH
INFO Creating CRC VM for openshift 4.11.3...
INFO Generating new SSH key pair...
INFO Generating new password for the kubeadmin user
INFO Starting CRC VM for openshift 4.11.3...
INFO CRC instance is running with IP 192.168.130.11
INFO CRC VM is running
INFO Updating authorized keys...
INFO Check internal and public DNS query...
INFO Check DNS query from host...
INFO Verifying validity of the kubelet certificates...
INFO Starting kubelet service
INFO Waiting for kube-apiserver availability... [takes around 2min]
INFO Adding user's pull secret to the cluster...
INFO Updating SSH key to machine config resource...
INFO Waiting for user's pull secret part of instance disk...
INFO Changing the password for the kubeadmin user
INFO Updating cluster ID...
INFO Updating root CA cert to admin-kubeconfig-client-ca configmap...
INFO Starting openshift instance... [waiting for the cluster to stabilize]
INFO 3 operators are progressing: image-registry, network, service-ca
INFO 3 operators are progressing: image-registry, network, service-ca
INFO 3 operators are progressing: image-registry, network, service-ca
INFO 2 operators are progressing: image-registry, service-ca
INFO 2 operators are progressing: image-registry, service-ca
INFO Operator image-registry is progressing
INFO Operator console is not yet available
INFO All operators are available. Ensuring stability...
INFO Operators are stable (2/3)...
INFO Operators are stable (3/3)...
INFO Adding crc-admin and crc-developer contexts to kubeconfig...
Started the OpenShift cluster.
The server is accessible via web console at:
https://console-openshift-console.apps-crc.testing
Log in as administrator:
Username: kubeadmin
Password: IDPHn-d4TJ7-vEIaZ-E5XUT
Log in as user:
Username: developer
Password: developer
Use the 'oc' command line interface:
$ eval $(crc oc-env)
$ oc login -u developer https://api.crc.testing:6443
2.3 Configuring HAProxy.
Now that your cluster is up and running, let's configure the HAproxy to be able to connect using your browser.
Luckily, our solution comes with all the prerequisites so you can easily configure and publish your Cluster.
To configure the HAproxy to be able to access, you just need to run the script /scripts/haproxyConfig.sh
this script will configure the file /etc/haproxy/haproxy.cfg
Below an example of the file configured
$ /scripts/haproxyConfig.sh
$ cat /etc/haproxy/haproxy.cfg
global
log /dev/log local0
defaults
balance roundrobin
log global
maxconn 100
mode tcp
timeout connect 5s
timeout client 500s
timeout server 500s
listen apps
bind 0.0.0.0:80
server crcvm 192.168.130.11:80 check
listen apps_ssl
bind 0.0.0.0:443
server crcvm 192.168.130.11:443 check
listen api
bind 0.0.0.0:6443
server crcvm 192.168.130.11:6443 check
Now, restart the haproxy to get the latest version of the configuration with the command: sudo systemctl restart haproxy.service
Let's check the haproxy process with the command sudo systemctl status haproxy.
CONFIGURE DNS RESOLUTION$ systemctl status haproxy.service
● haproxy.service - HAProxy Load Balancer
Loaded: loaded (/usr/lib/systemd/system/haproxy.service; enabled; vendor preset: disabled)
Active: active (running) since Sat 2022-10-15 22:39:30 UTC; 5s ago
Main PID: 6414 (haproxy-systemd)
Tasks: 3
CGroup: /system.slice/haproxy.service
├─6414 /usr/sbin/haproxy-systemd-wrapper -f /etc/haproxy/haproxy.cfg -p /run/haproxy.pid
├─6415 /usr/sbin/haproxy -f /etc/haproxy/haproxy.cfg -p /run/haproxy.pid -Ds
└─6416 /usr/sbin/haproxy -f /etc/haproxy/haproxy.cfg -p /run/haproxy.pid -Ds
Oct 15 22:39:30 vmtestocp systemd[1]: Started HAProxy Load Balancer.
Oct 15 22:39:30 vmtestocp haproxy-systemd-wrapper[6414]: haproxy-systemd-wrapper: executing /usr/sbin/haproxy -f /etc/haproxy/haproxy.cfg -p /run/haproxy.pid -Ds
Oct 15 22:39:30 vmtestocp haproxy[6415]: Proxy apps started.
Oct 15 22:39:30 vmtestocp haproxy[6415]: Proxy apps_ssl started.
Oct 15 22:39:30 vmtestocp haproxy[6415]: Proxy api started.
To be able to access using the Openshift URL, you need to configure your local DNS resolution.
You’ll need administrator permission in order to configure your local DNS resolution. This can change depending on your operation system.
Configure the DNS resolution with the below details:
${AZ_PUBLIC_IP} console-openshift-console.apps-crc.testing apps-crc.testing api.crc.testing oauth-openshift.apps-crc.testing
Find the location of the hosts files for each Operation System below:
For Windows
In Windows 10 the hosts file is located at c:\Windows\System32\Drivers\etc\hosts.
Right-click on Notepad in your Start menu and select Run as Administrator.
For MacOS
Open the hosts file with sudo from the Terminal:
$ sudo vim /private/etc/hosts
For Linux RHEL/CentOS
Open the hosts file with sudo from the Terminal:
$ sudo vim /etc/hosts
Here an example of the local DNS configuration
##
# Host Database
#
# localhost is used to configure the loopback interface
# when the system is booting. Do not change this entry.
##
127.0.0.1 localhost
255.255.255.255 broadcasthost
::1 localhost
20.38.174.85 console-openshift-console.apps-crc.testing apps-crc.testing api.crc.testing oauth-openshift.apps-crc.testing
20.38.174.85 myapplication.apps-crc.testing
Connect into you cluster just using the console https://console-openshift-console.apps-crc.testing
crc console --credentials
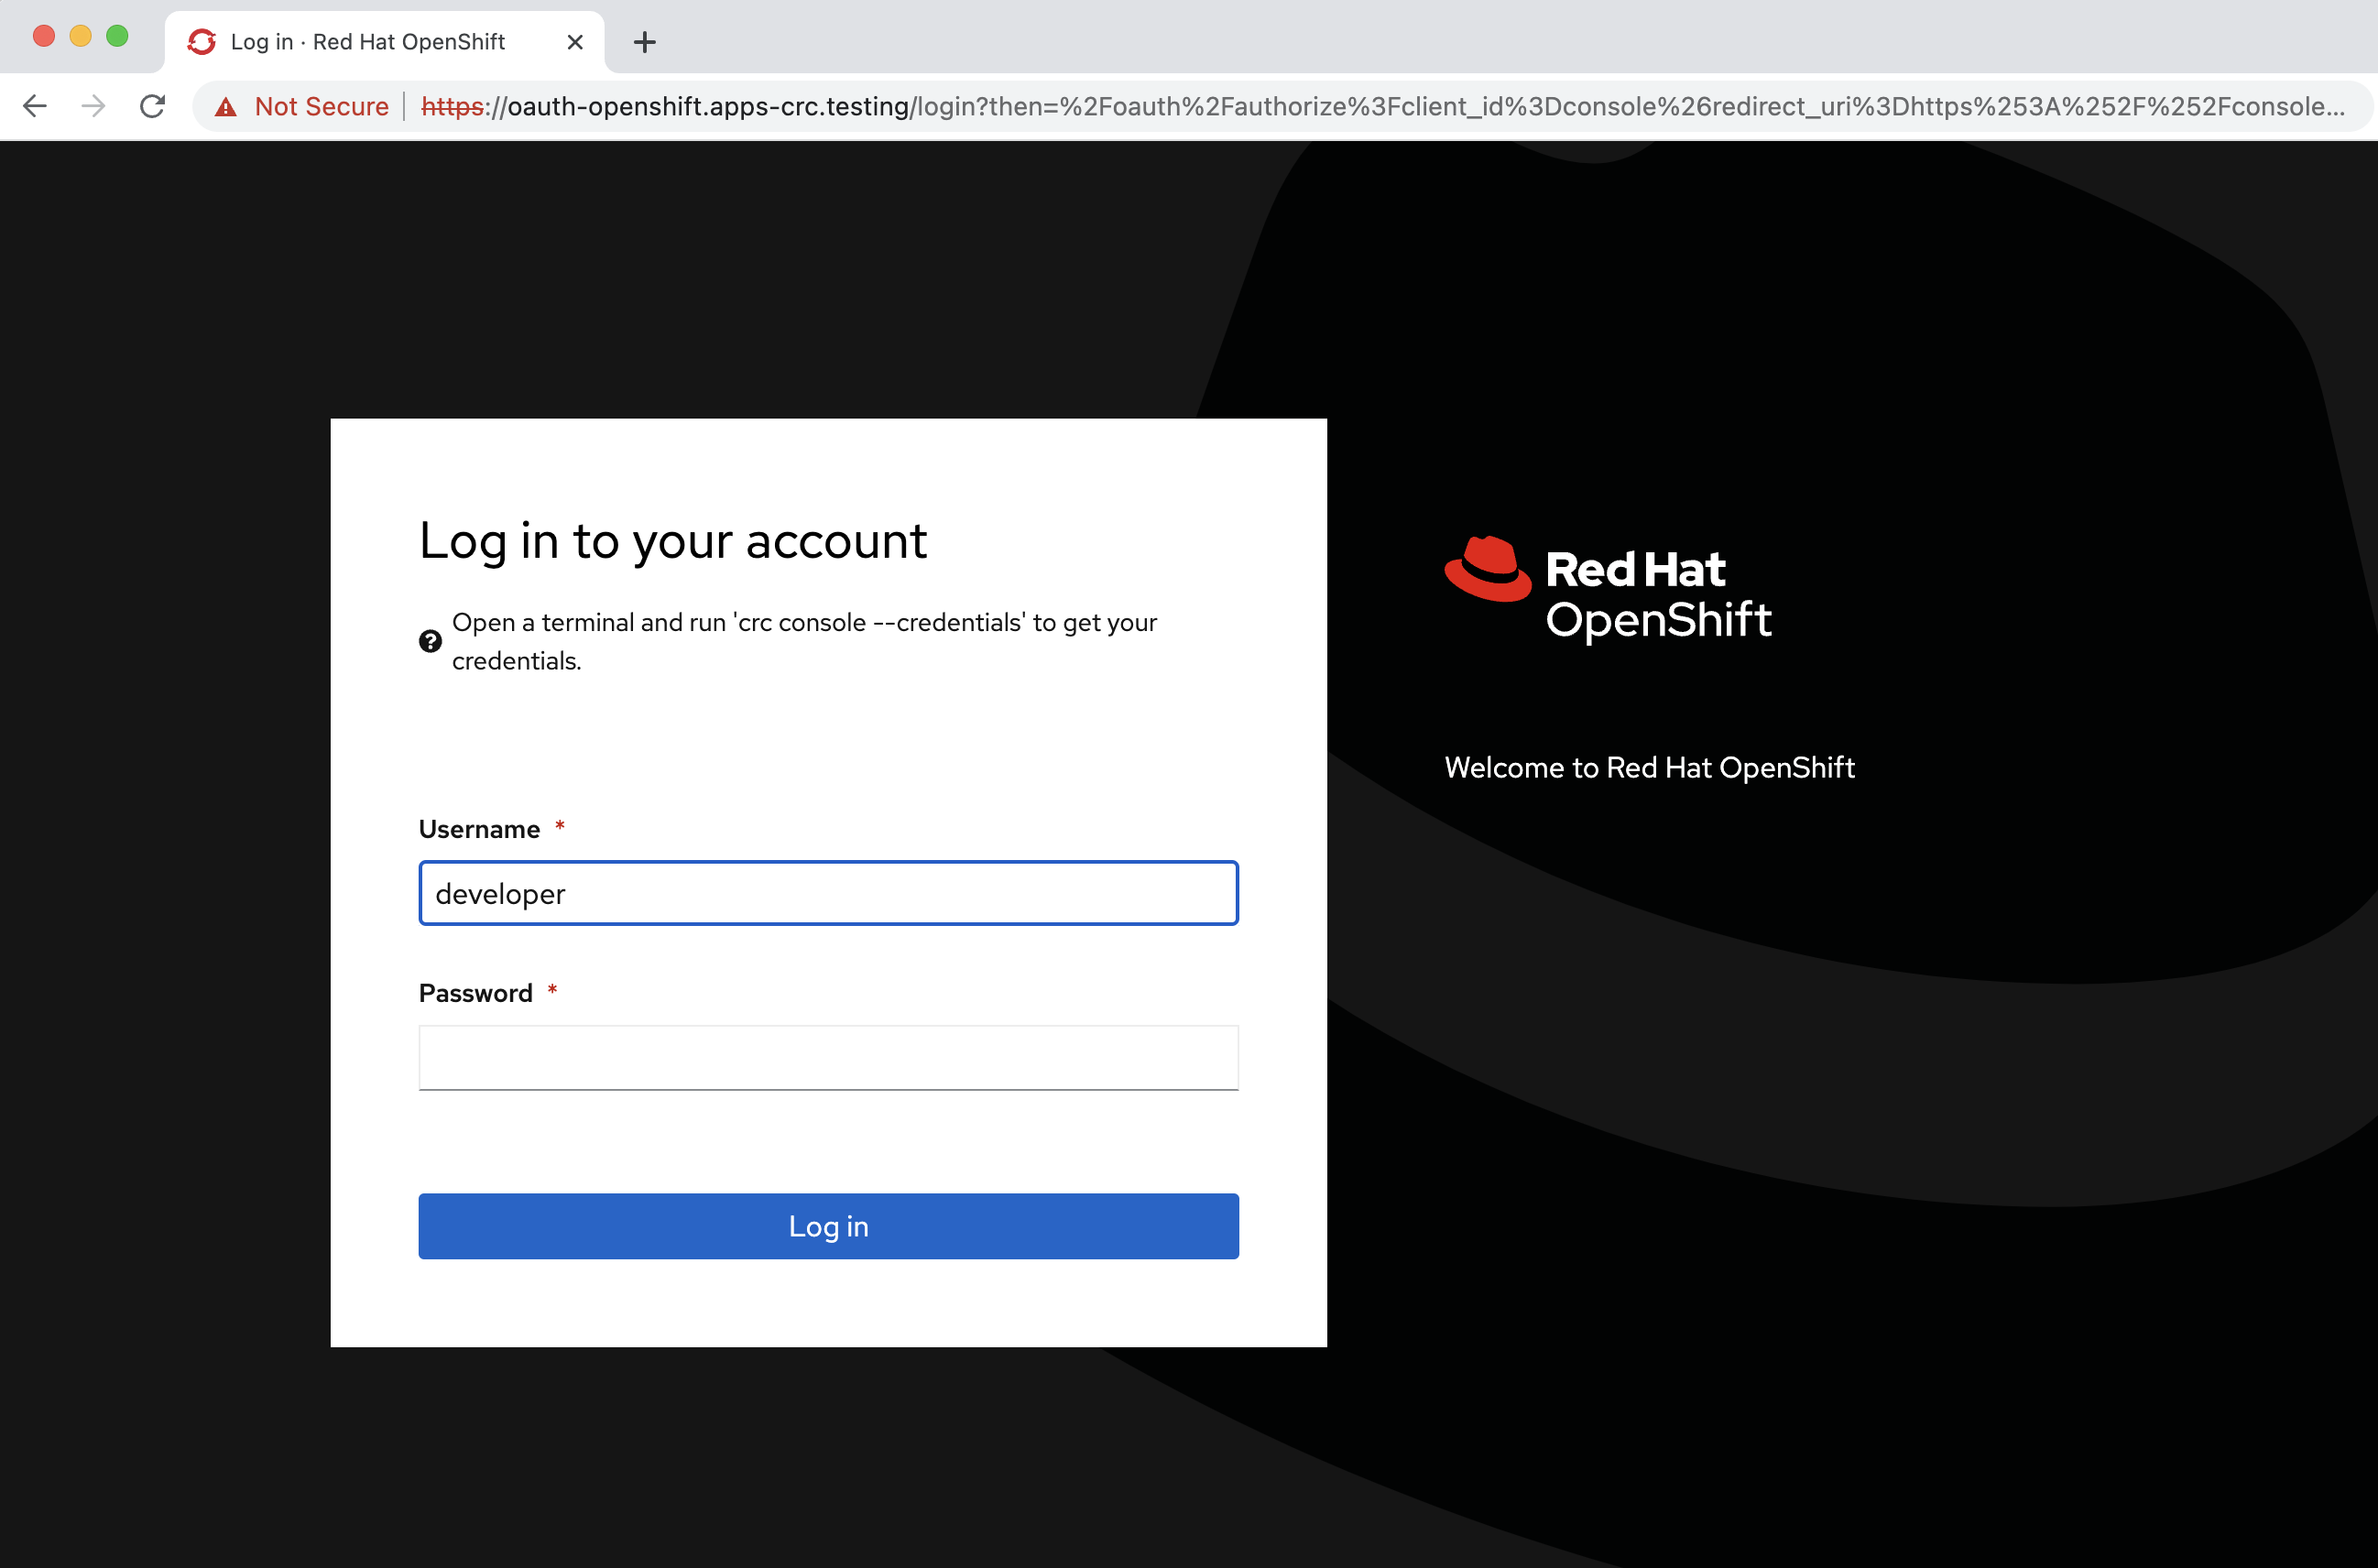
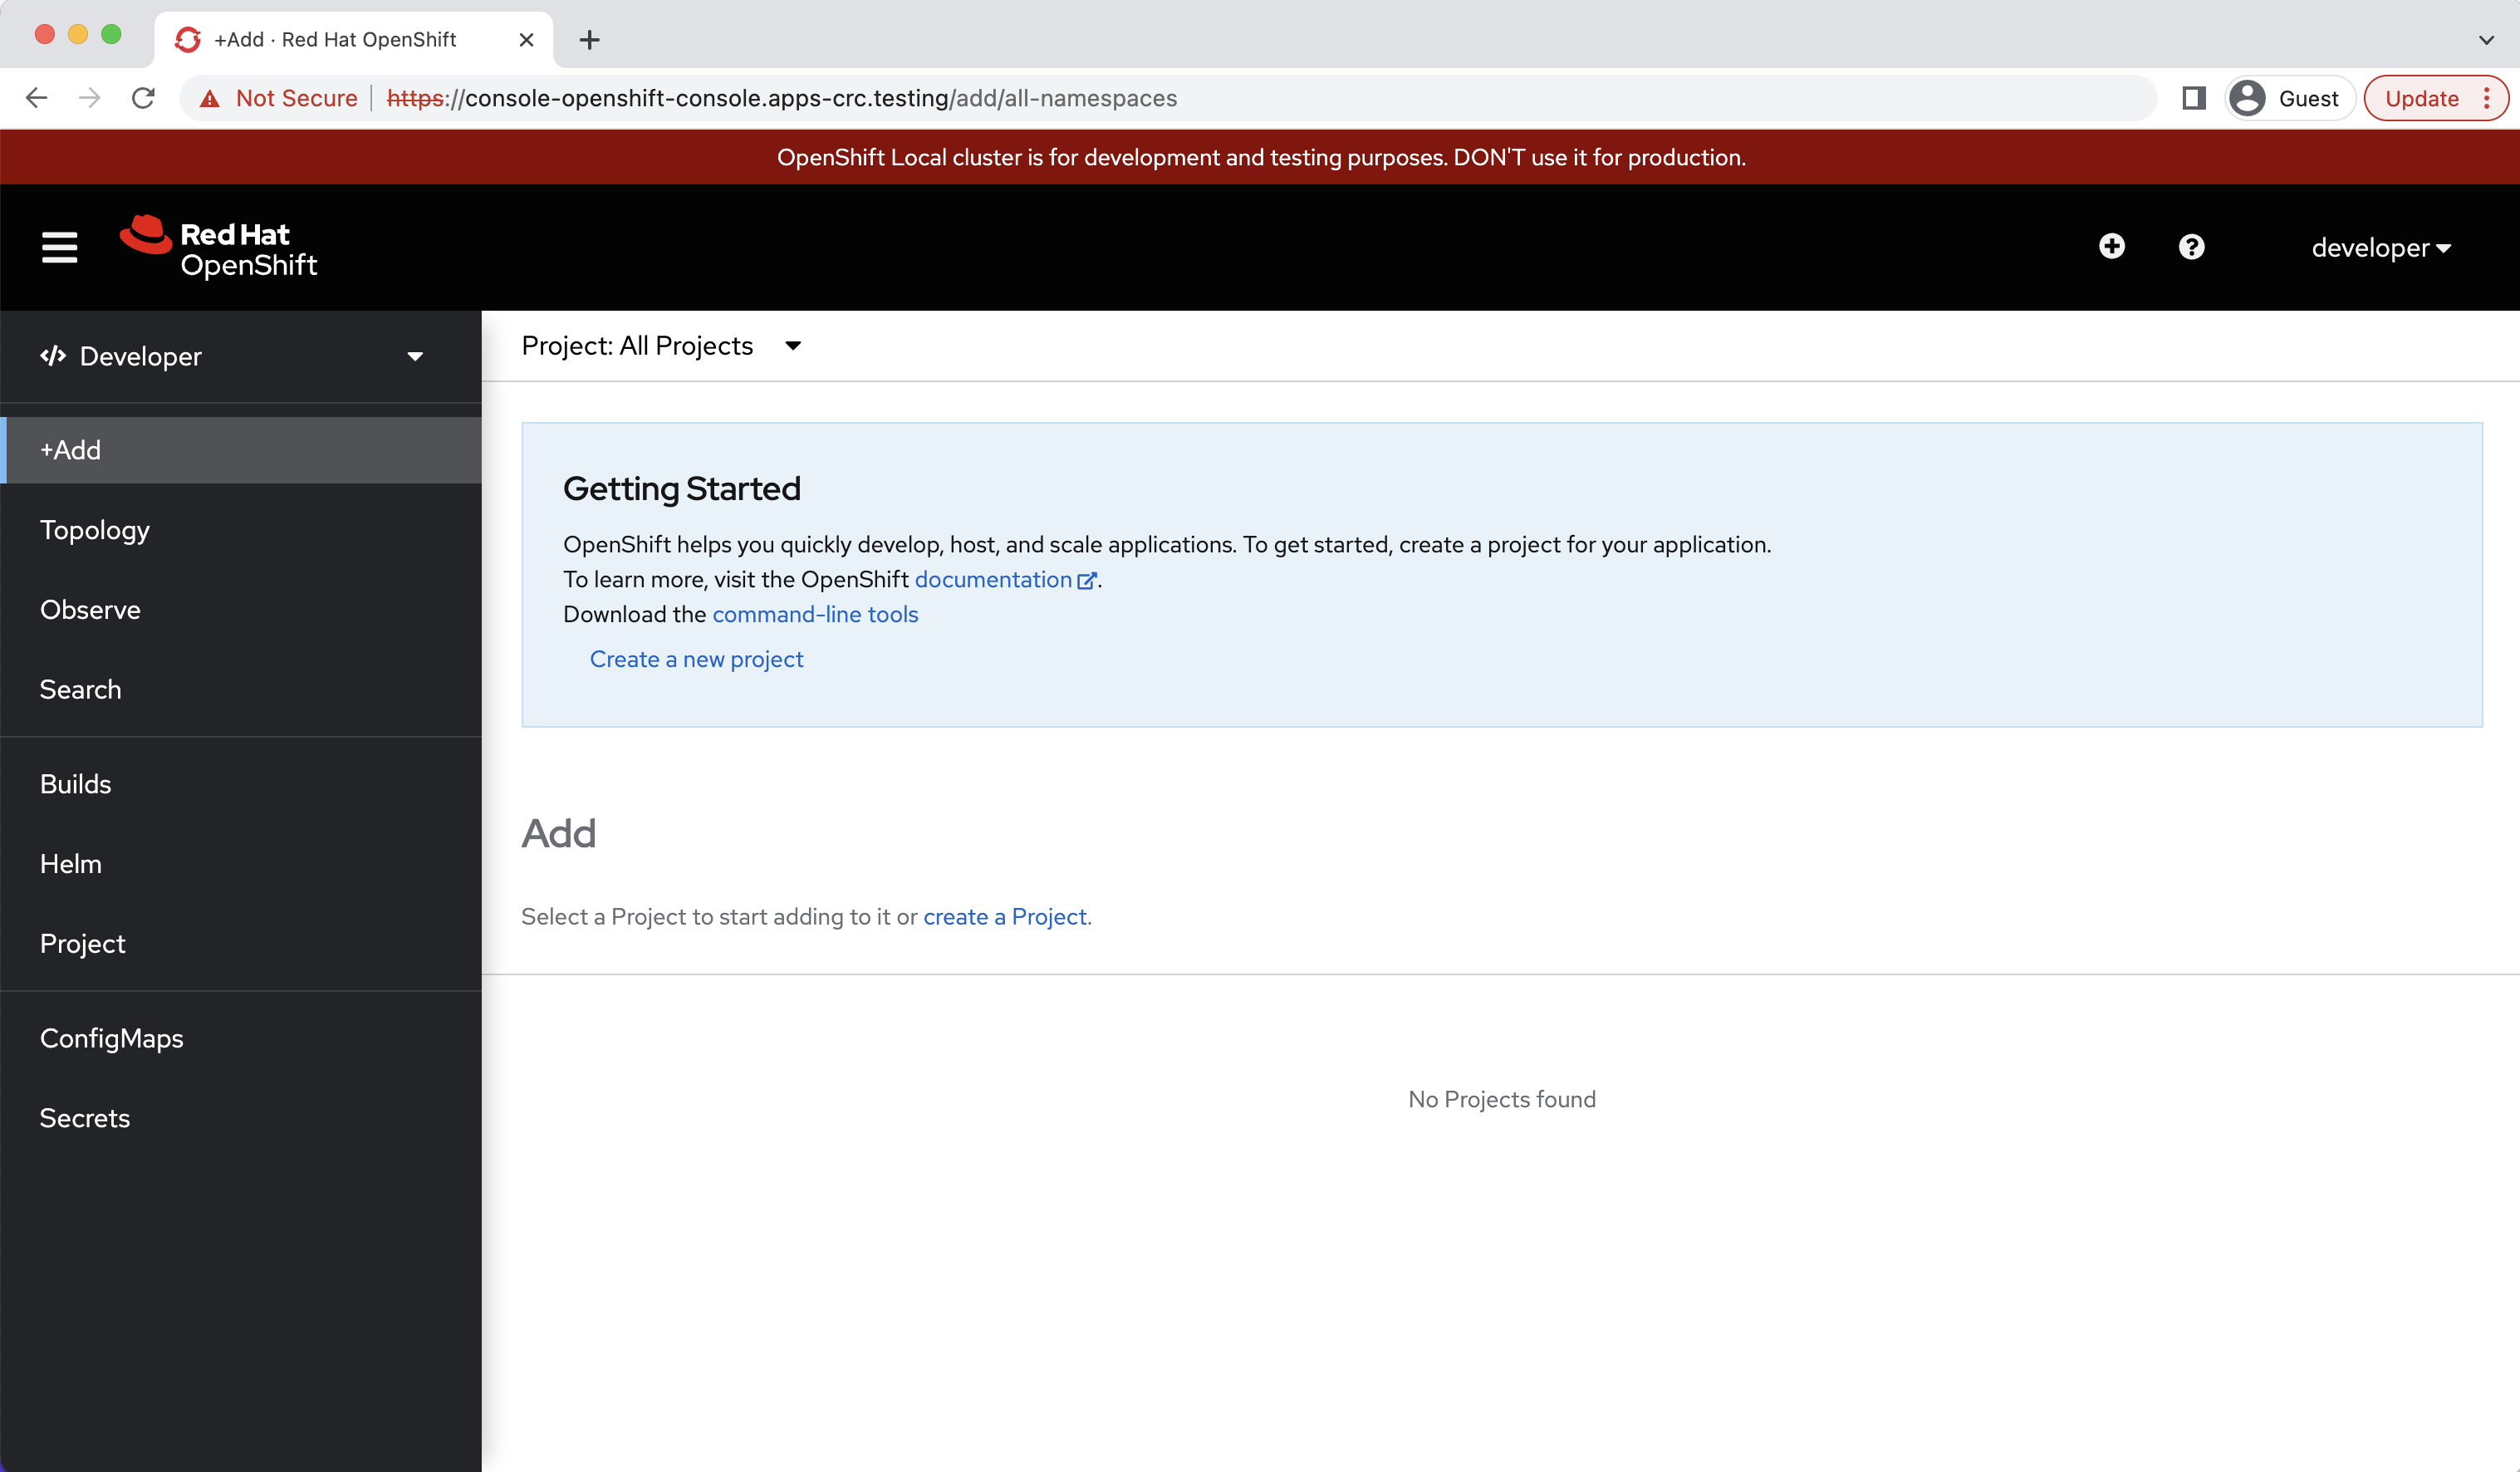
Congratulations, you made it! now just enjoy your Openshift 4 cluster! :)