1.0 Jenkins Overview
Jenkins is a continuous integration (CI) server that supports a wide range of tools and technologies. Adopting a CI process ensures that all developers' working copies of code are regularly merged into a shared trunk. Once a change is committed to the repository, the product is automatically rebuilt and tested.
With Jenkins you can automate a number of day-to-day tasks such as checking out the sources from source control, building, code analysis, and different levels of testing and deployment.
By setting up Jenkins to run these tasks each time a developer has changed the source code, you can detect any defects much faster meaning that you maintain your applications' quality and reduce time to market.
Jenkins is highly configurable, and there are numerous plugins available that provide access to a range of tools including source control, shell and batch scripts. Jenkins works on multiple platforms, supports Java and integrates with other corporate systems.
Jenkins documentation: https://www.jenkins.io/doc/
1.1 Prerequisites
The minimal and recommended requirements for deploy Jenkins:
Minimum hardware requirements:
256 MB of RAM
1 GB of drive space
Recommended hardware configuration for a small team:
4 GB+ of RAM
50 GB+ of drive space
You should not have problem to deploy in Azure, but we recommed select the below sizes:
- Standard D-Series v4 & v5: D2as_v4, D4as_v4, D2as_v5 and D4as_v5
Be sure to use large Virtual Machines and add extra disk as needed.
2.0 Deploying Jenkins
Now let's begin with the fun part!
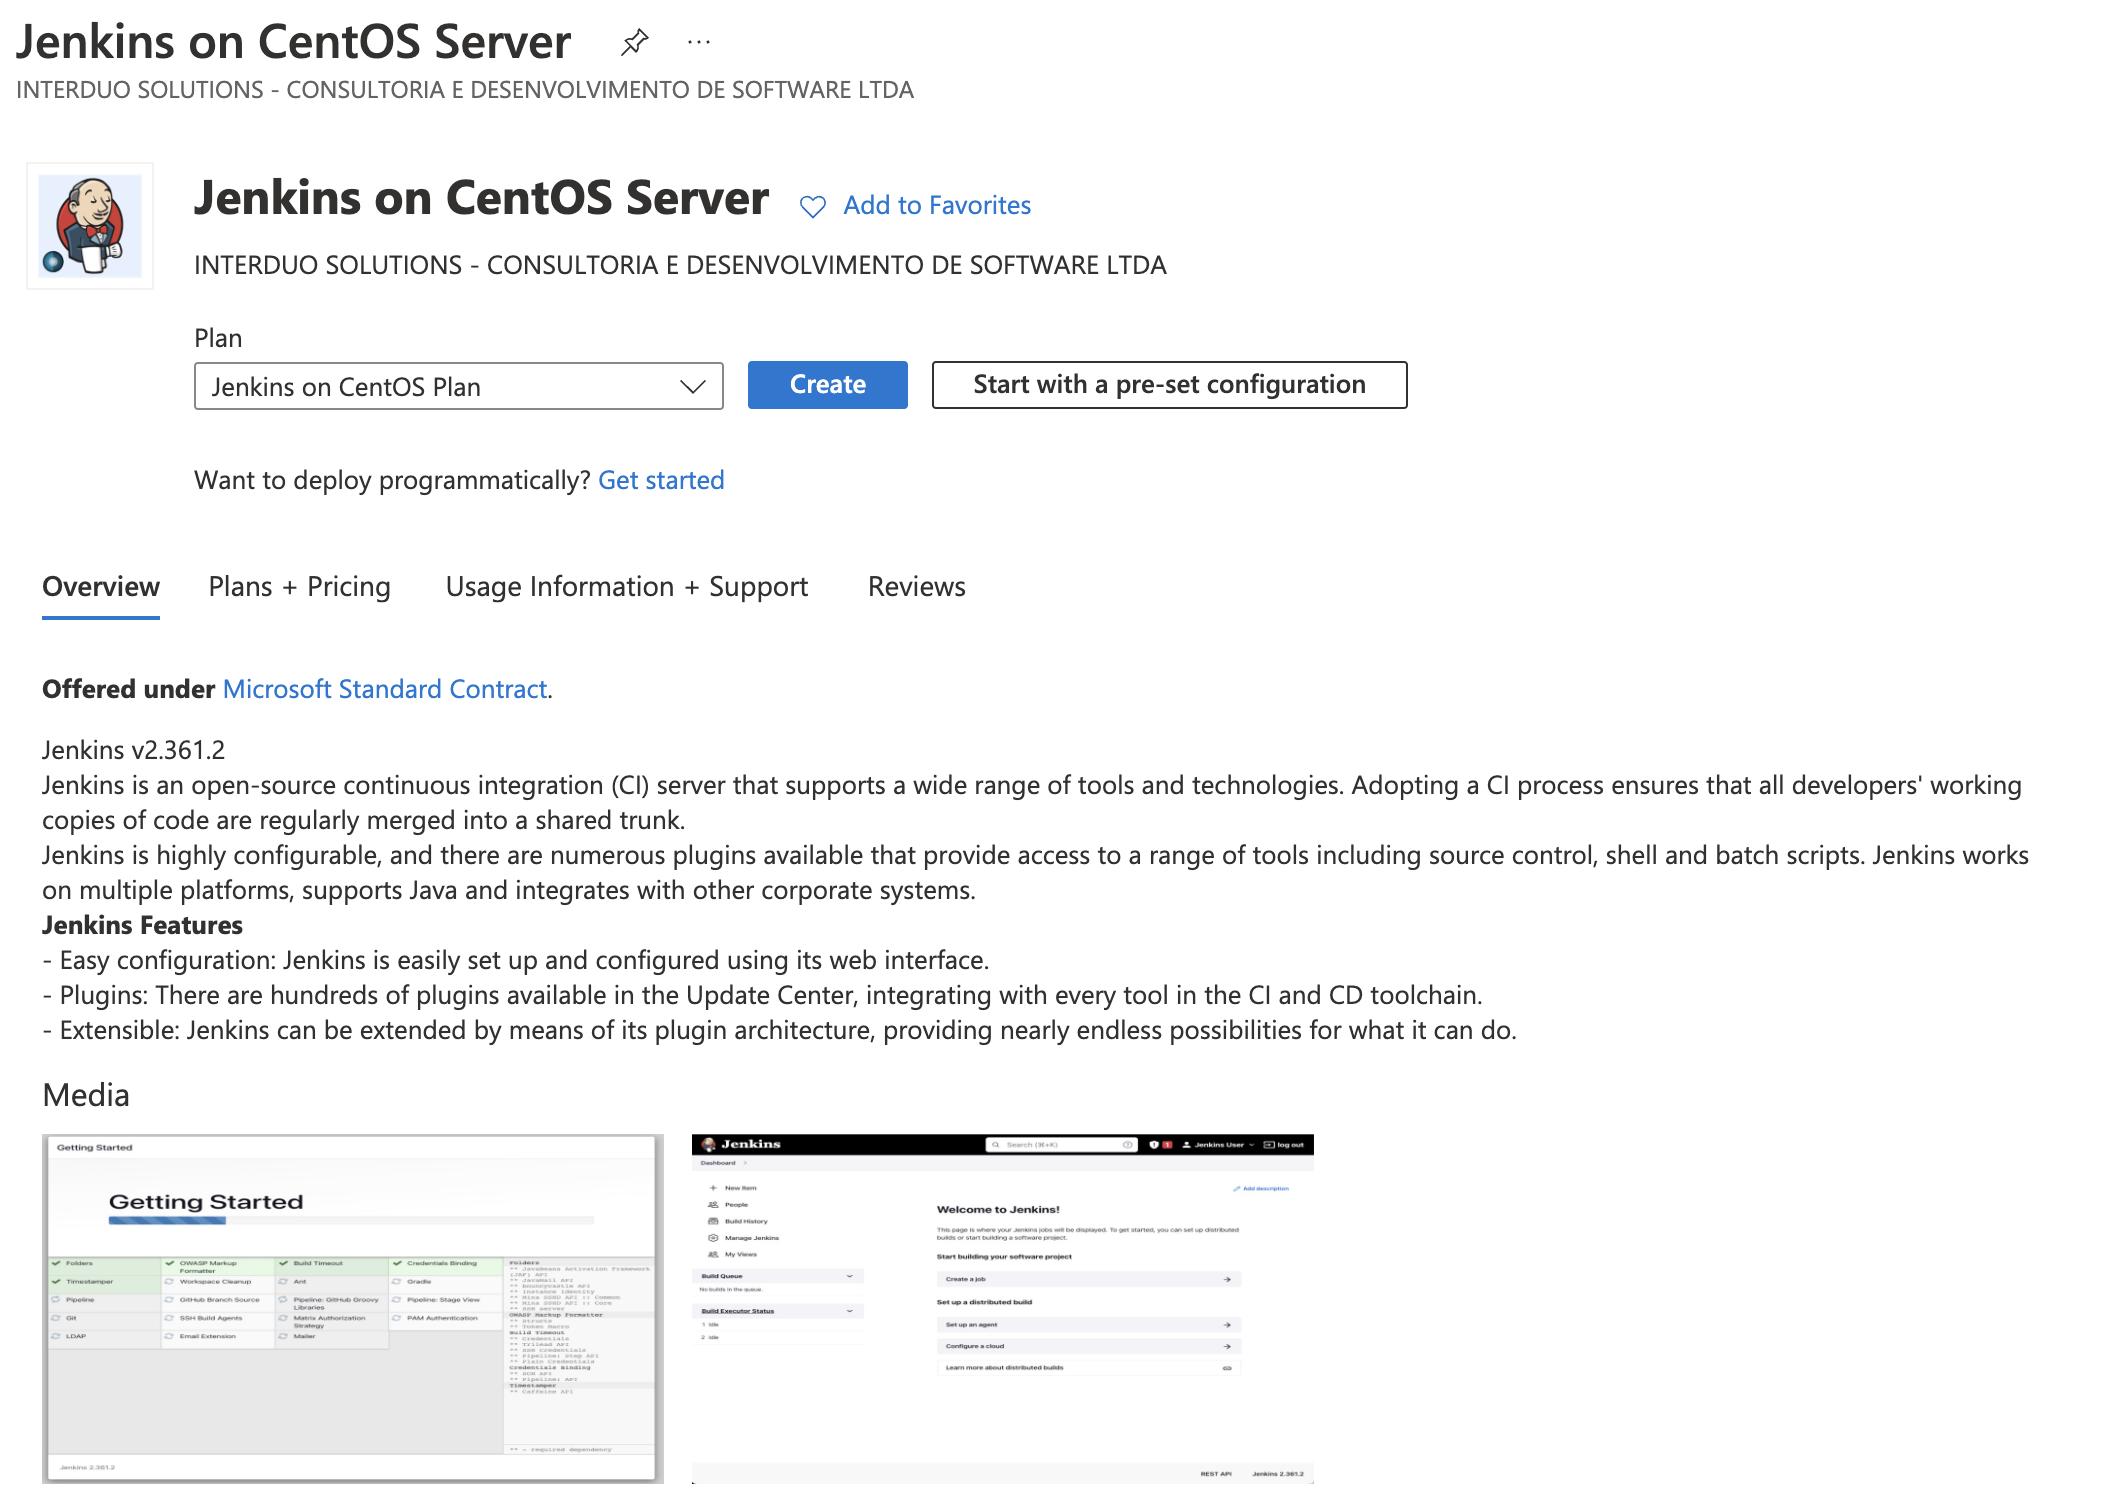
The first step is create the new Virtual Machine using our Marketplace solution, for that just login in the Azure portal and search for Jenkins on CentOS Server
Check the plan and click in "CREATE"
Follow the process of creating the Azure virtual machine.
After finishing creation, you can connect using ssh or by console.
To connect using the console, just access http://yourvmIP:8080
You can also connect using the ssh command line. For more information, see How to use SSH with Linux on Azure.
$ssh username@yourvmIP
Setting up Jenkins
To set up your installation, visit Jenkins on its default port, 8080, using your server domain name or IP address: http://yourvmIP:8080
You should receive the Unlock Jenkins page:
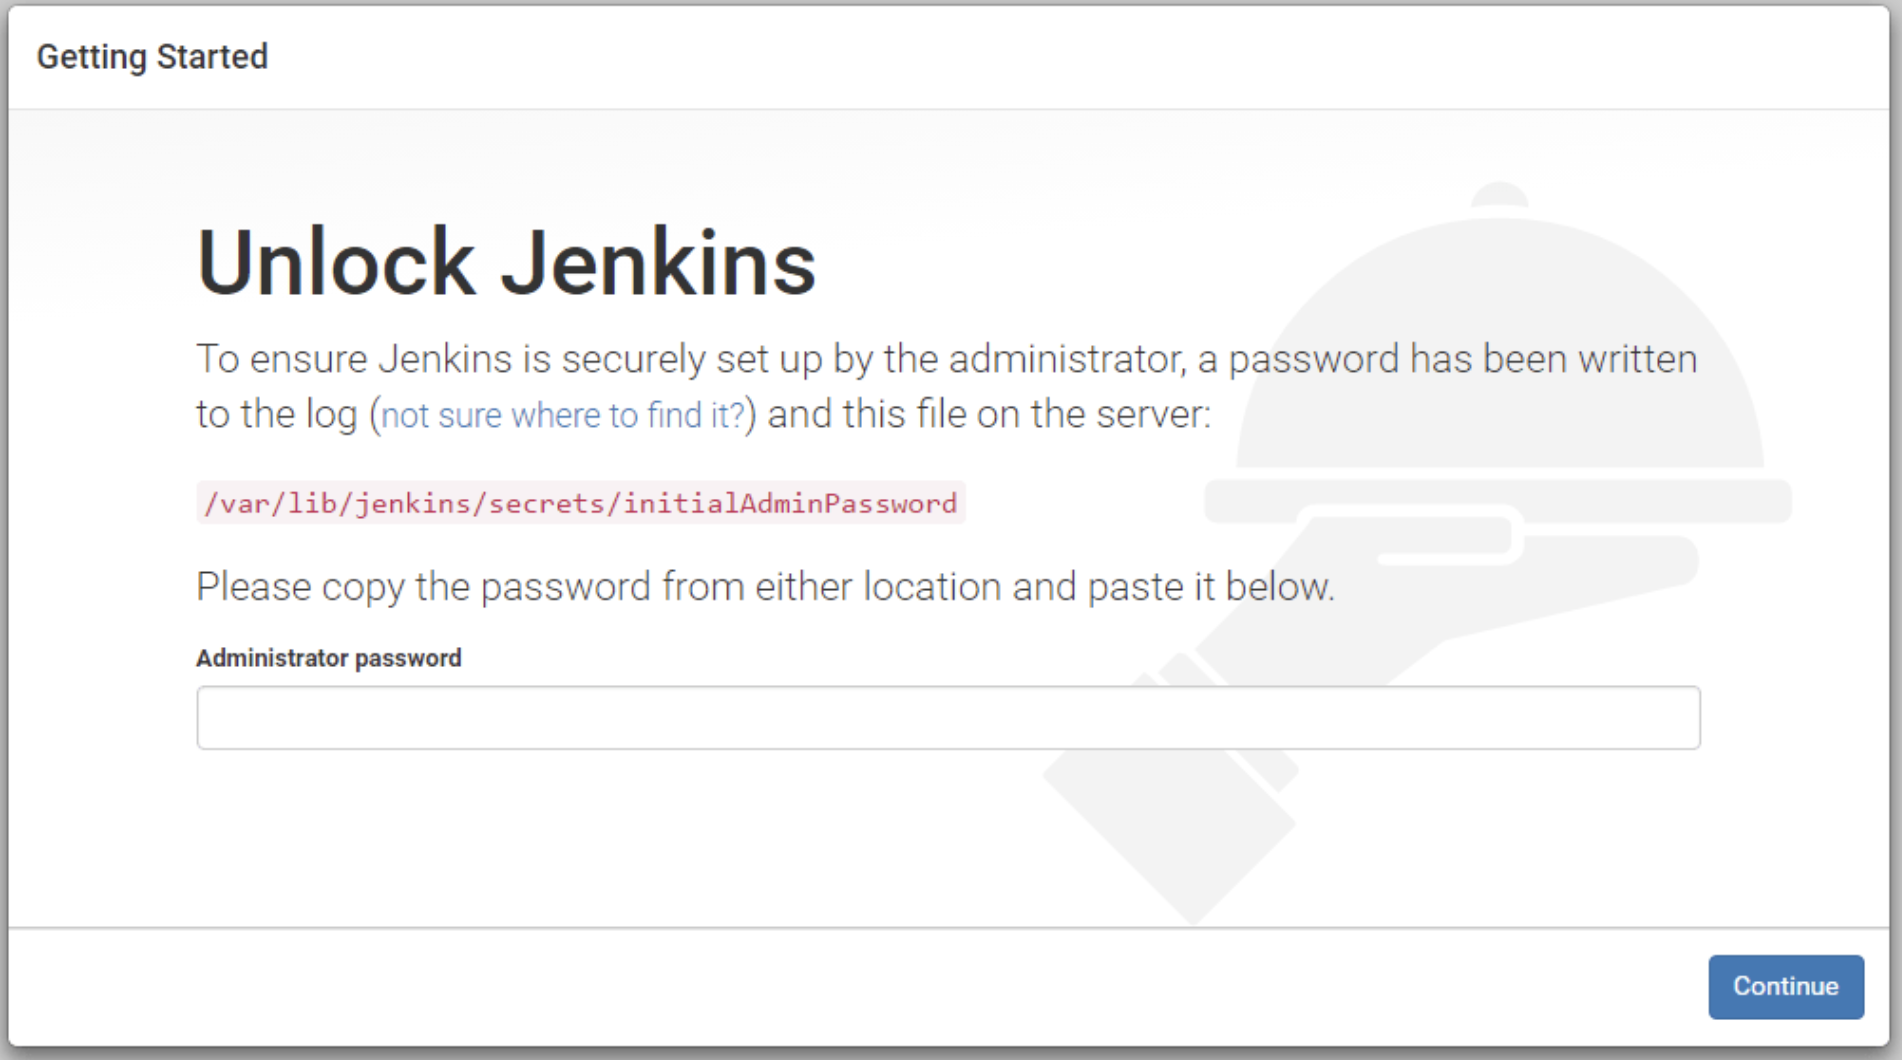
Connect to your host and use the cat command to display the password:
sudo cat /var/lib/jenkins/secrets/initialAdminPassword
Copy the 32-character alphanumeric password from the terminal and paste it into the Administrator password field, then click Continue.
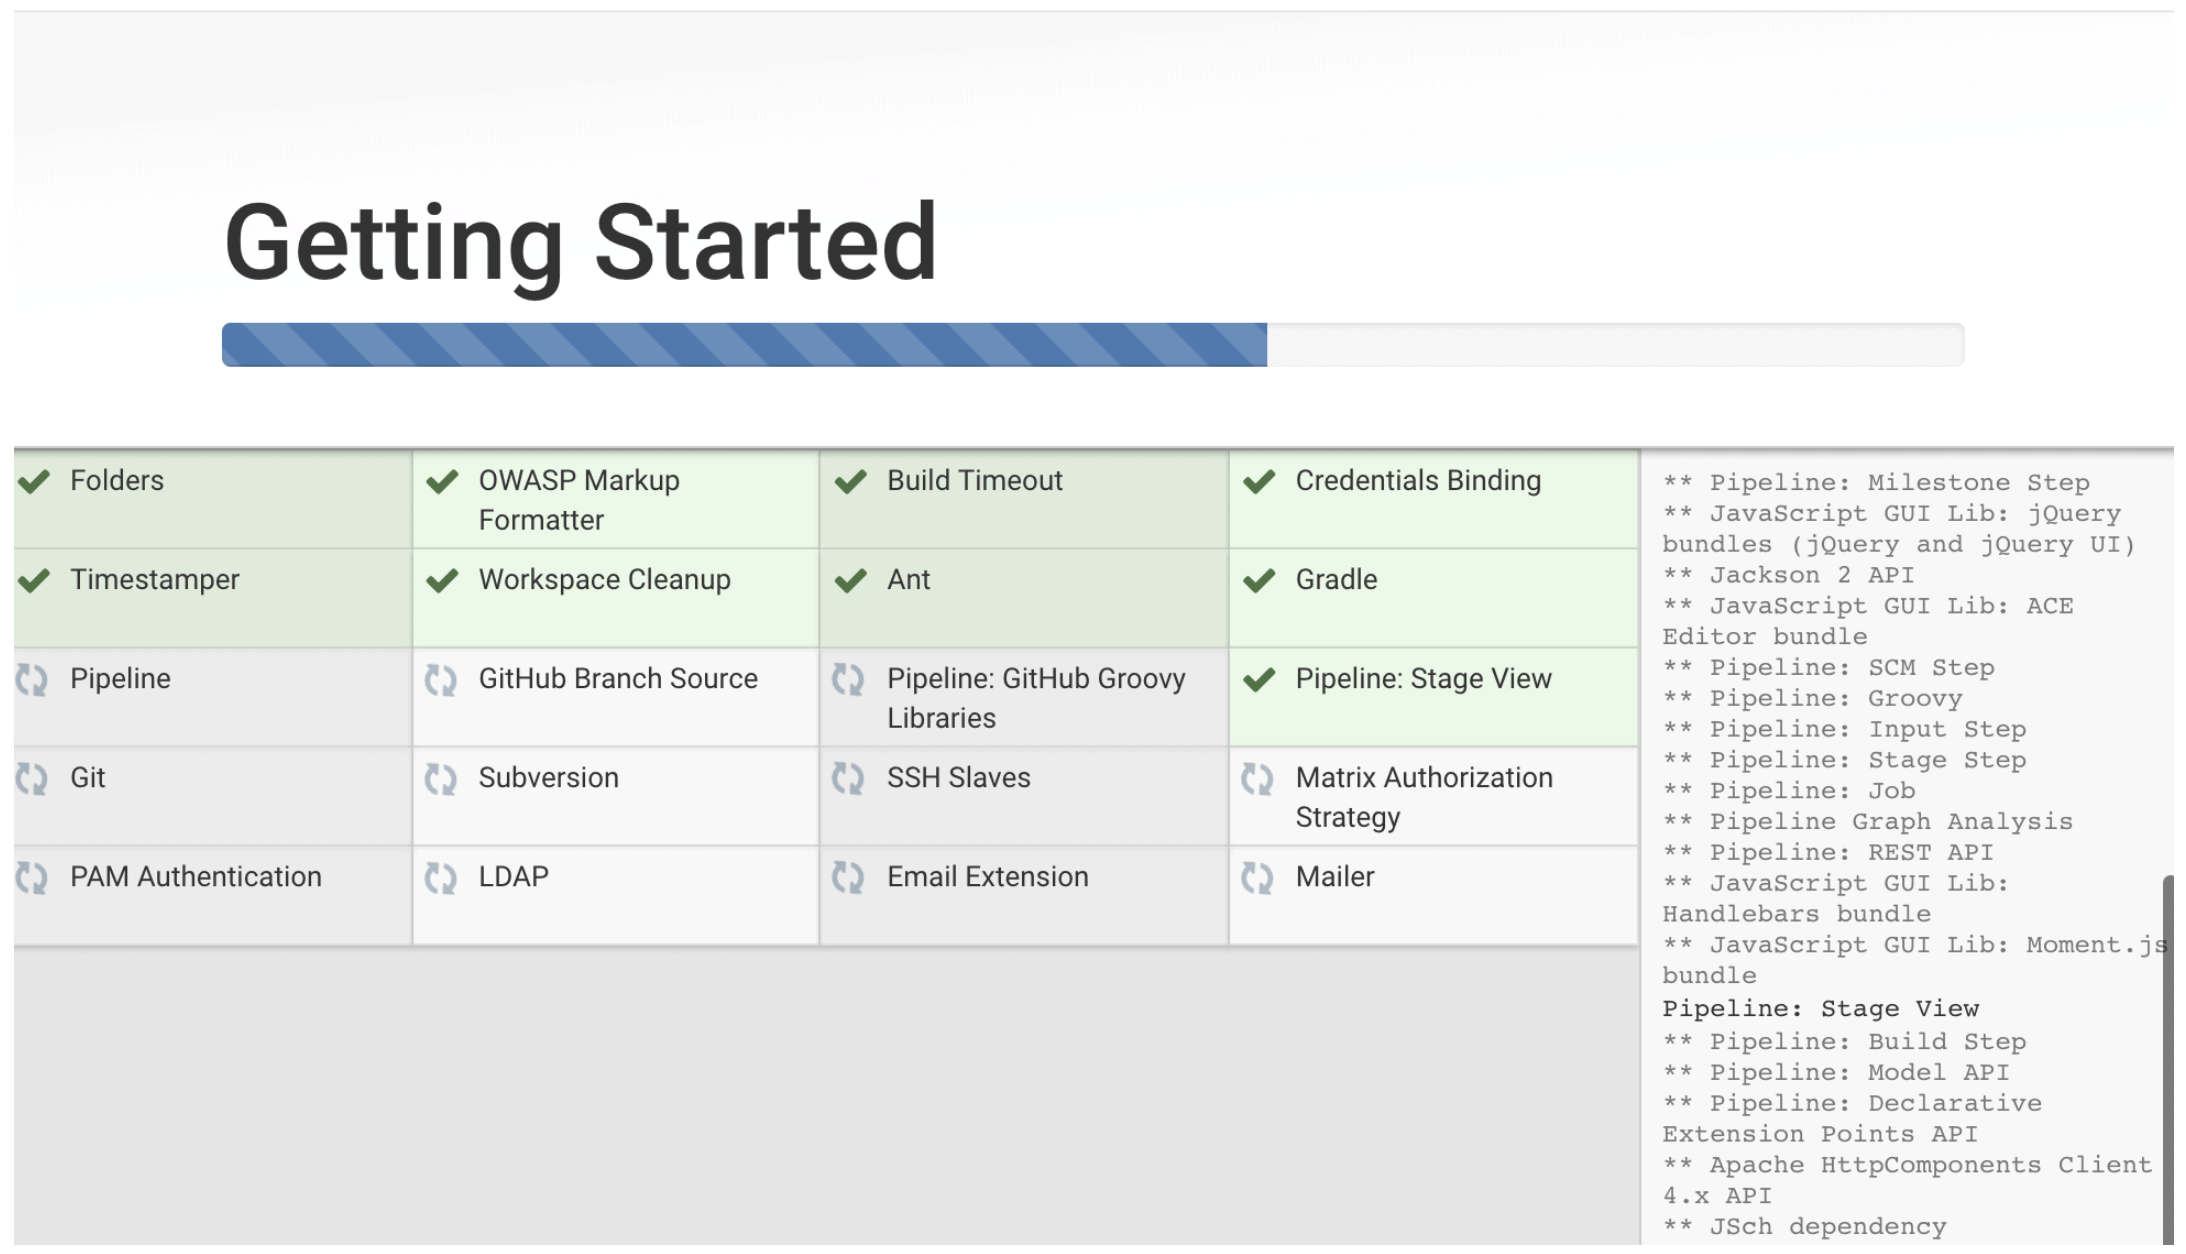
Customizing Jenkins with plugins
After unlocking Jenkins, the Customize Jenkins page appears. Here you can install any number of useful plugins as part of your initial setup.
Click one of the two options shown:
Select plugins to install - to choose which set of plugins to initially install. When you first access the plugin selection page, the suggested plugins are selected by default.
Install suggested plugins - to install the recommended set of plugins, which are based on most common use cases.
Wait the install of the pluggins:
Creating the first administrator user
Finally, after customizing Jenkins with plugins, Jenkins asks you to create your first administrator user.
When the Create First Admin User page appears, specify the details for your administrator user in the respective fields and click Save and Finish.
After finishing the settings, you should receive a message that your Jenkins is ready!
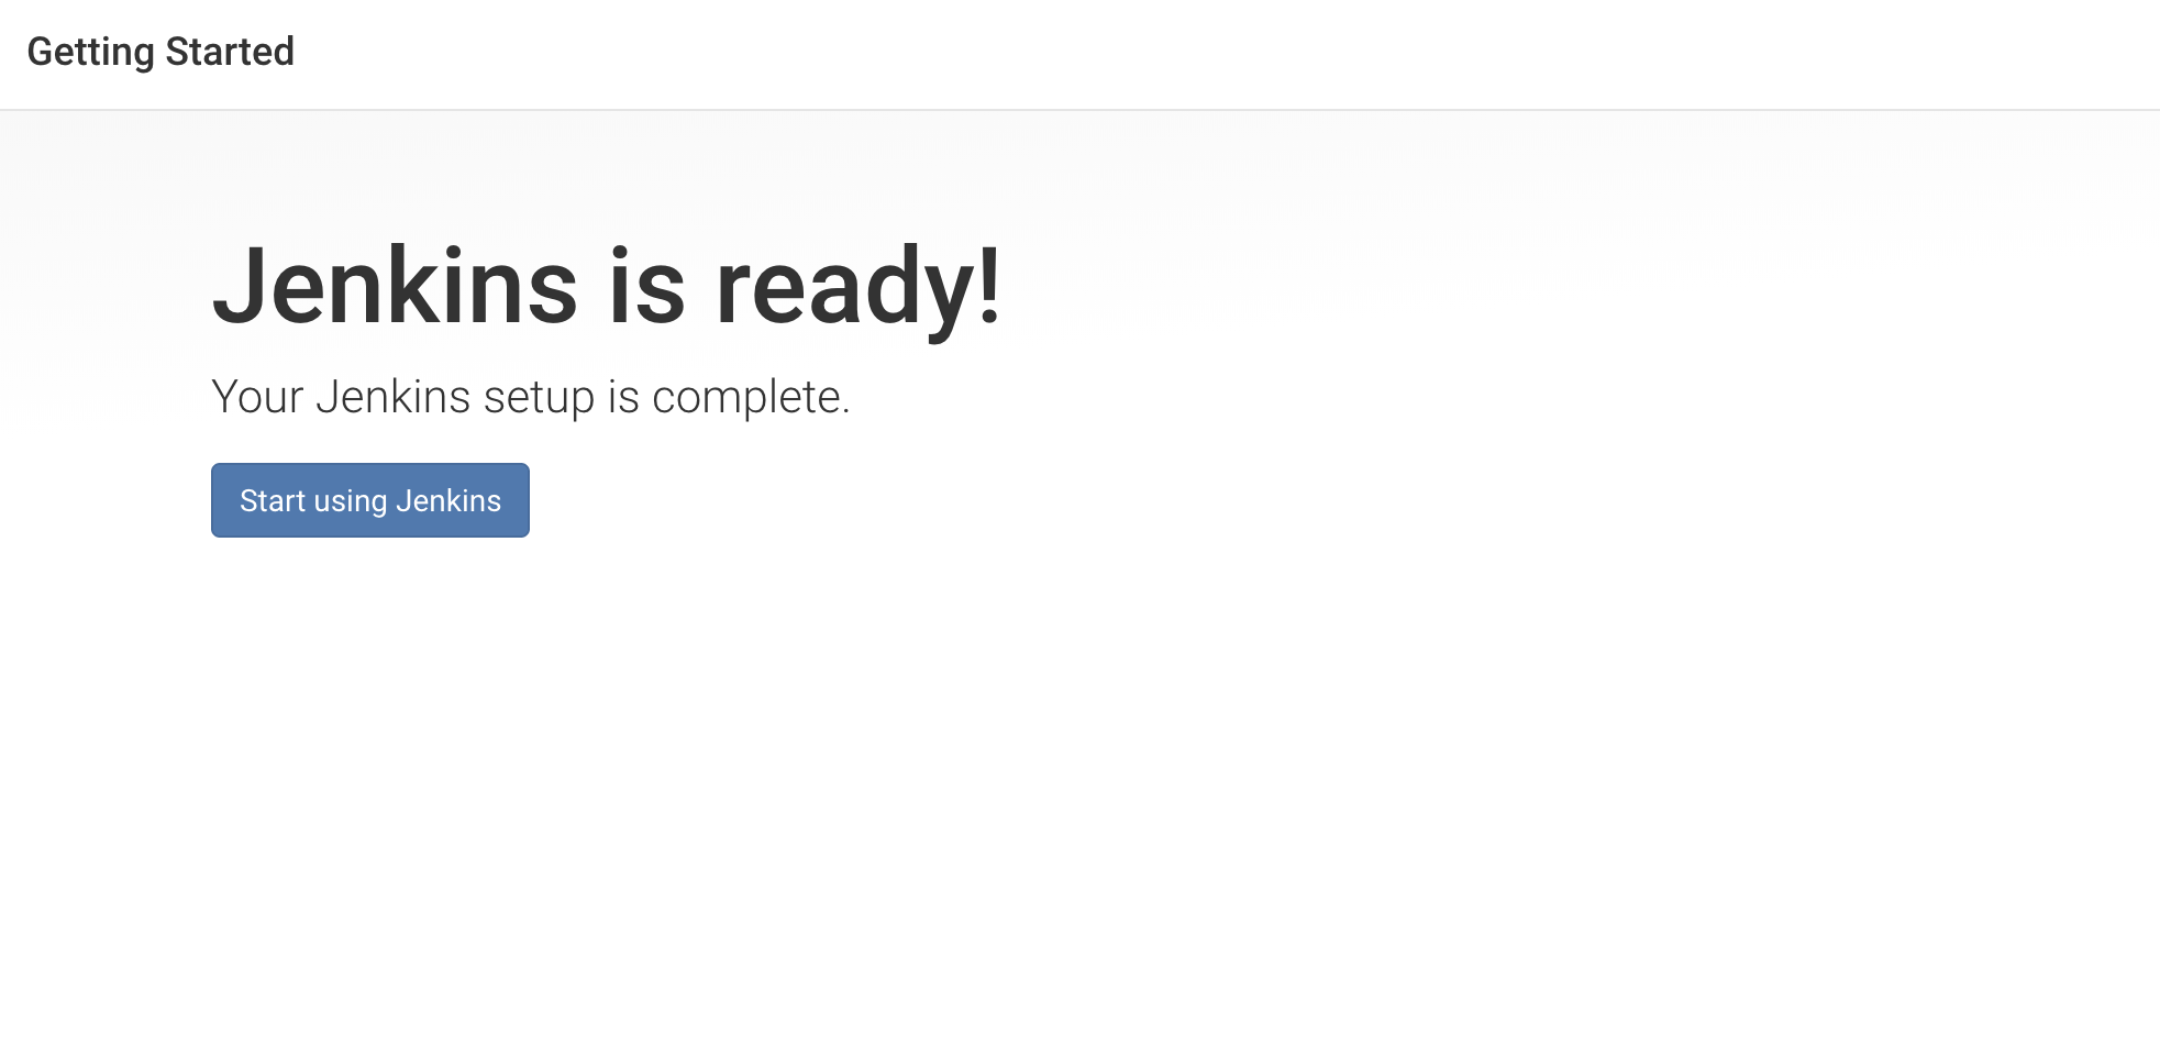
Congratulations, you made it! now just enjoy your Jenkins! :)